Introducing Homemade Dog Treats
If you've ever watched your pup's eyes light up at the sight of a homemade dog treat, you already know the joy they can bring. Not only are these treats a great way to bond with your furry friend, but they also ensure that you're in control of the ingredients. However, once your delectable creations are out of the oven, a crucial question arises: how do you store homemade dog treats to maximize their freshness?
Understanding Your Treats: The Key to Proper Storage
Before diving into storage solutions, it’s essential to consider what ingredients you used. The storage method varies significantly depending on whether you’ve baked crunchy biscuits, created soft treats, or made frozen popsicles. Ultimately, the type of treats you make will dictate how you should store them to keep them fresh and delicious.
Crunchy Biscuits: Storing for Freshness
The most popular homemade dog treats are crunchy biscuits. These can be as simple as flour, oats, and peanut butter baked until golden brown. Here’s how to store them effectively:
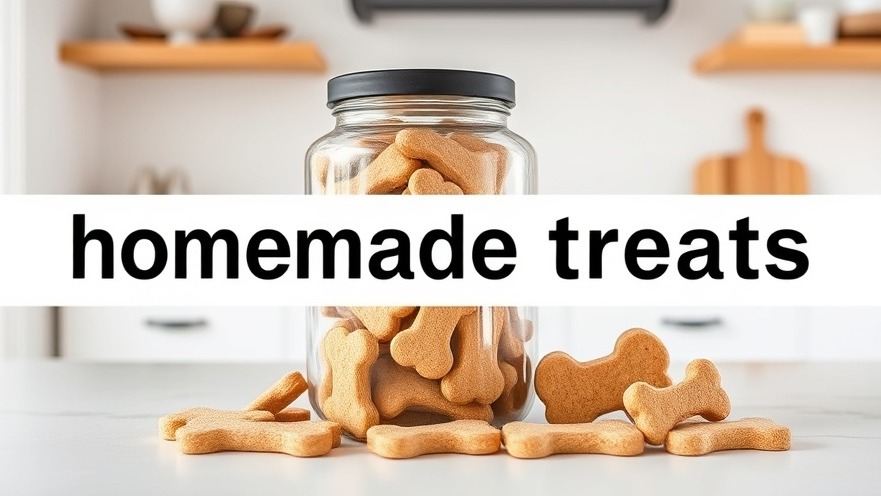
Short Term (Up to 1 week): Store your crunchy treats in an airtight container at room temperature. Glass jars or metal tins can be perfect for this, ensuring your treats remain crisp.
Medium-Term (1-3 weeks): For added longevity, store them in the fridge in an airtight container. This is especially necessary if you haven’t used any preservatives.
Long-Term (Up to 3 months): Use a zip-top freezer bag labeled with the date to store your treats in the freezer. When serving, just take a few out and let them thaw – unless your pup enjoys a frozen treat!
As a pro tip, consider adding a food-safe silica packet to your storage container (the type often found in jerky bags) to absorb moisture. This little addition can significantly extend shelf life for your treats.
Soft and Moist Treats: Keeping Them Fresh
Soft treats may be prone to mold but are often your pup's favorite! To store these effectively:
Refrigerator: Place them in an airtight container for up to 5-7 days. This minimizes spoilage.
Freezer: Freeze your soft treats in single-serving portions. This prevents freezer burn. Utilize wax paper between layers to prevent sticking together.
Labeling is vital here too. Write the treat name and date on the bags or containers to avoid any mix-ups. You wouldn't want your pup mistaking beef liver for a chocolate cookie!
Frozen Treats: Tips for Keeping Them Chill
If you've made frozen dog treats, such as banana-yogurt pupsicles, store them effectively using:
Silicone molds
Freezer-safe containers
Ice cube trays for easy portion control
These treats can last up to three months in the freezer, but as we all know, they’re often devoured long before then!
Avoiding Common Mistakes
Storing treats might seem straightforward, but some common pitfalls ignite problems:
Leaving treats on the counter for “just a few days” invites unwanted bacterial guests.
Using paper bags or plastic wrap invites stale treats, as they don’t create an airtight seal.
Always check for mold. If any treat smells funky or presents spots, toss it out. A trip to the vet is no treat!
Final Woofs: A Love for Freshness
Creating homemade dog treats is a rewarding endeavor, and keeping them fresh is equally important. No pet parent wants to present their furry friend with a stale snack. Ideally, if you've baked a substantial batch, freeze half immediately to enjoy throughout the week. Your pup will still believe they’re receiving fresh-out-of-the-oven treats every time!
Actionable Insights for Dog Owners
By understanding and applying these storage techniques, you’re not just giving your pup a tasty snack, but also ensuring their health with fresh ingredients. As you continue to experiment with different recipes, remember to adopt a mindful approach towards treat storage. Delicious, fresh treats can forge a stronger bond with your furry friend, and you'll be their hero every time you reach for that jar!
 Add Row
  Add
Add 


Write A Comment